I've also been made craftier with the help of my friend Tara, who has a great eye for cute crafts. Our most recent (and nearly only) dual project was making book page pumpkins. We didn't take process pictures because we were both diligently determined to finish three pumpkins apiece, which apparently takes a bit longer than originally expected. In all, the project (three pumpkins) took about 3.5 hours but we were also gabbing and munching. We had tons of fun but it's definitely a labor of love. These are our very own book page pumpkins...


Here's the blog tutorial--and the pictures BELOW are from her blog, as well, but my additional commentary is in red.
Book Page Pumpkin Tutorial
1- Make a pumpkin shape out of a piece of paper. I roughly drew one, then folded the paper in half and cut it so it would be symmetrical. Try to make sure the pumpkin shape has a relatively flat bottom. Consider, too, whether you want a taller or shorter pumpkin when you cut your "template." If you don't like it, try again!
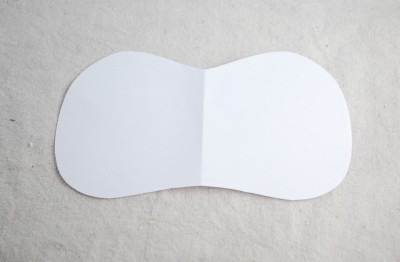
2-Take the cover off of your book and place the pumpkin pattern with the fold on the binding edge. If it doesn't fit, trim it a little.
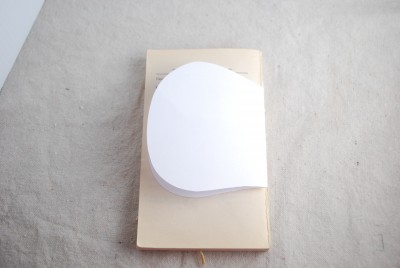
3-Trace around the pattern with a pencil.
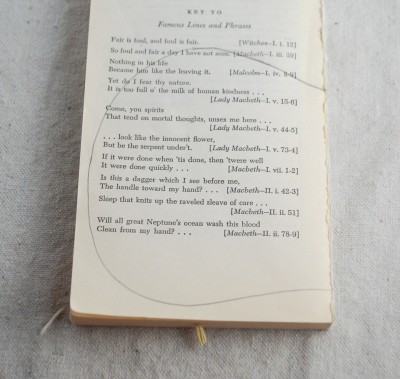
4-Now it's time to cut out your pumpkin. You can use an exacto knife, but I found that it was easier just to use scissors. I could cut through 5-6 pages at a time pretty easily. If you don't have fine tipped scissors to cut all the way to the edge of the binding, you can use an exacto knife there. The exacto knift caused us some problems because it frayed the edges of the pages. It takes longer, but the result is better if you use scissors.
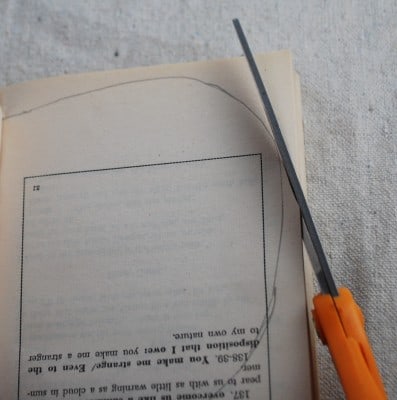
5-After you cut all the way around, pull the excess pages over to the binding and they should tear right off.
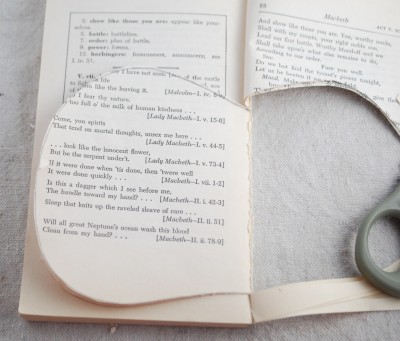
6-Now trace around the pumpkin shape and cut through a few more pages. Tip: cut slightly inside the pencil mark, or your pumpkin will keep getting bigger. Yep, I learned that the hard way. Danggit. Especially when you reach the binding, it's important to keep it as clean as possible. We used what *I think* was some sort of apocalyptic knife weapon to "fix" all the small edges once we cut through the entire book.
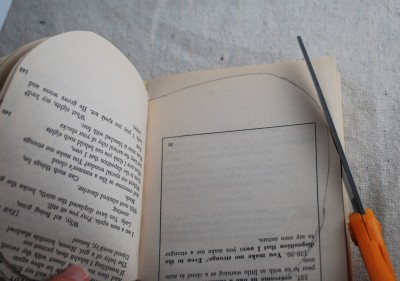
7-Keep tracing and cutting until you have all the pages done.
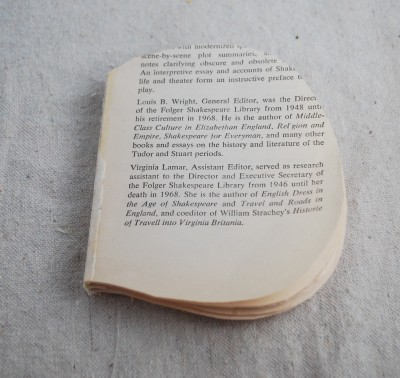
8-Now put a thin strip of glue on the very edge. I'm the impatient type, so I used hot glue. Before you hot glue, get rid of any excess paper at the top and bottom of the pumpkin. Tara and I used hot glue as well. Definitely the way to go.
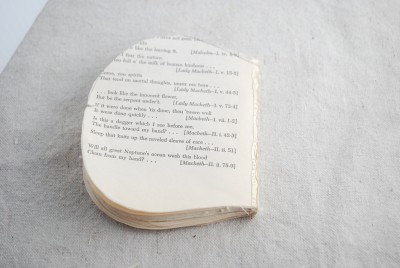
9-Now bring that back page around and attach it to the hot glue, keeping the outside edges as even as possible. Then add a stip of hot glue to that page, and glue the next page to it, just on the inside edges. I sure hope that makes sense.
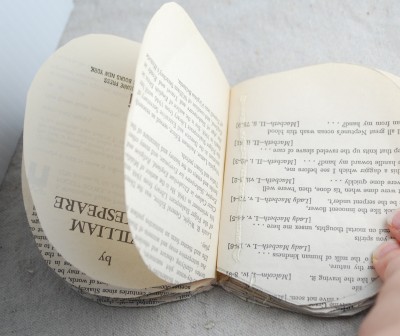
10-When you stand your pumpkin up, it will probably look something like this:
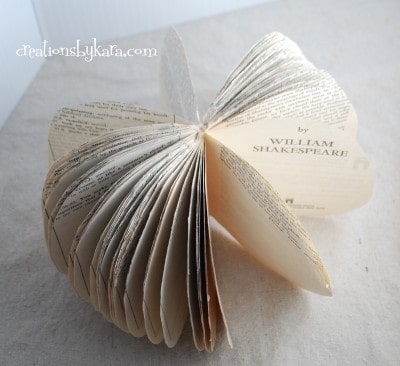
11-Don't panic! It just needs to be "fluffed". Just go around pulling the pages apart and arranging them how you want them. If I had a space where the pages just refused to come together, I added a little hot glue right at the inside seam. When you are done, it should look more like this. It's OK that there are some spaces. We'll fix them later. This took a while, and don't expect it to look perfectly "fluffed." Almost DOES count here.
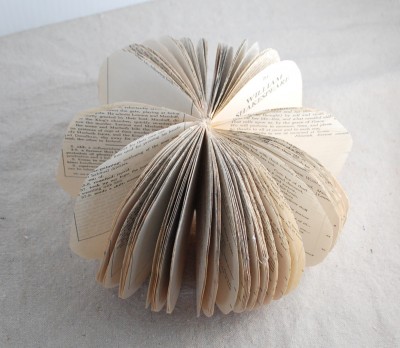
12- At this point I decided my pumpkin needed a little color. I could have inked all the edges with my orange ink pad. But I knew that would take awhile. So I turned to my best friend Krylon. Spray paint that is. Yep, you can totally spray paint book pages. Just use a very light touch, you don't want it drenched or anything. One light spritz is all you need. We probably used more than a "light touch," but not much more.... maybe three coats of lightly spraying areas that needed it.
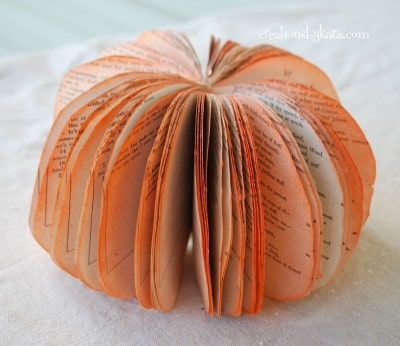
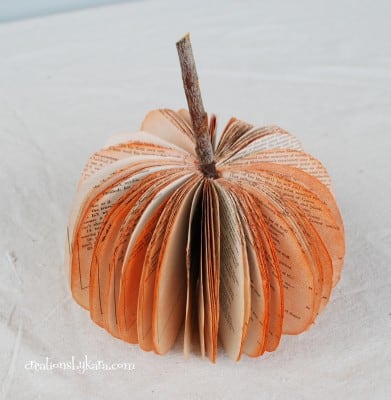
13-Now it's time to add the stem. I just used a stick from my yard. If you have any stubborn pages, now you can bend them to your will. Bwaahaha! I used a bunch of hot glue, then forced the pages where I wanted them and held the stem in place till the glue dried. Voila! We used cinnamon sticks bought at Hobby Lobby. That way you get both the look and aroma of fall!
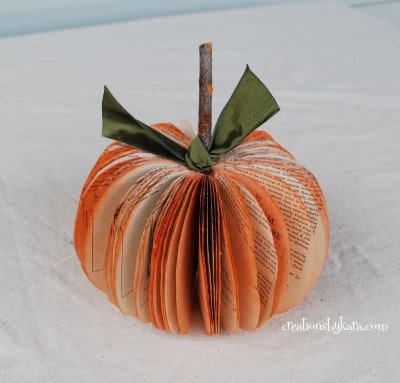
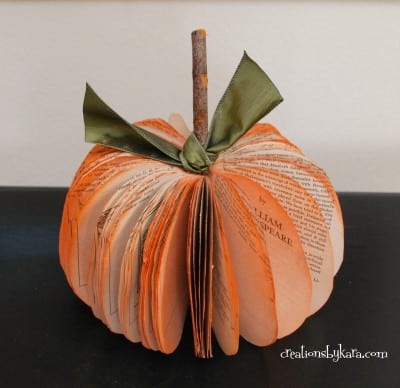
14-Next I tied a ribbon around the stem. Not only does it look cute and add some color, but it hides all the gobs of hot glue. Yay! And just because I love it so, here is another shot of it sitting on my entry table. We hot glued the ribbon to the pumpkin, just to keep it in place.

No comments:
Post a Comment